Executing a successful A/B test is easier said than done. The learning curve can be steep. Measuring the outcome can be confusing. Google Optimize aims to address these difficulties in rolling out A/B tests. And the cost is compelling: It’s free.
Getting Started with Google Optimize
To get started, create a Google Optimize account, preferably using the same credentials as your other Google products, such as Analytics and AdWords.
Follow the steps to create an account and container, then create the experiment. Enter the page to test, then select the experiment type. There are three choices.
- A/B test. Compare two or more variations of the same page.
- Multivariate test. Advanced testing of multiple variations within the same page.
- Redirect test. Redirects the test page to an alternate.
The easiest is a Redirect test. An example could be testing two landing pages for Google AdWords traffic: a category page versus a best-selling product page.
To start, click the “Create Experiment” button in Google Optimize under the “Experiments” tab.

Click “Create Experiment” under the “Experiments” tab.
—
Then, name the experiment, select “Redirect test,” and click “Create.”

Name the experiment, select “Redirect test,” and click “Create.”
—
Enter the schedule for the experiment and click “Done.” Select at least 30 days, unless you receive high traffic to the experiment pages. Run up to 90 days if needed. Optimize will automatically shut down the experiment after 90 days.
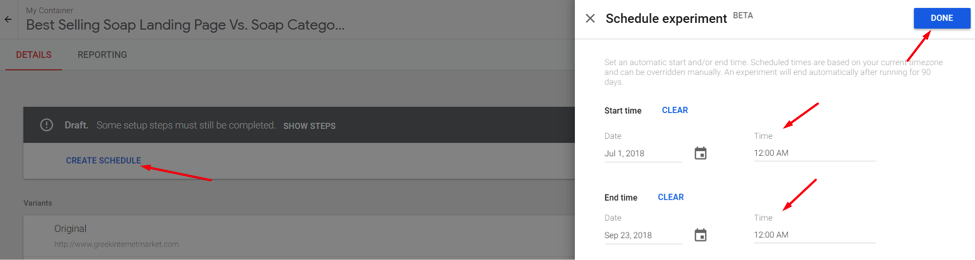
Enter the schedule for the experiment and click “Done.”
—
Edit the “Experiment information” to define the page to test.
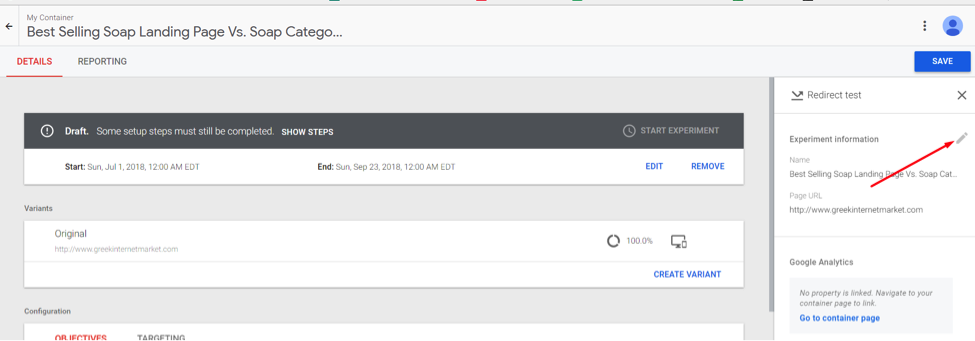
Edit the “Experiment information” to define the page to test.
—
Enter the page URL to test and click “Done.” Click “Create Variant” to enter the variant page. (You can create a variant within a page via a multivariant test.)

Enter the page URL to test and click “Done.” Click “Create Variant” to enter the variant page.
—
Name the variant, enter its URL, and click “Add.” Enter the description and hypothesis under the “Configuration” section of the experiment and click “Save.”
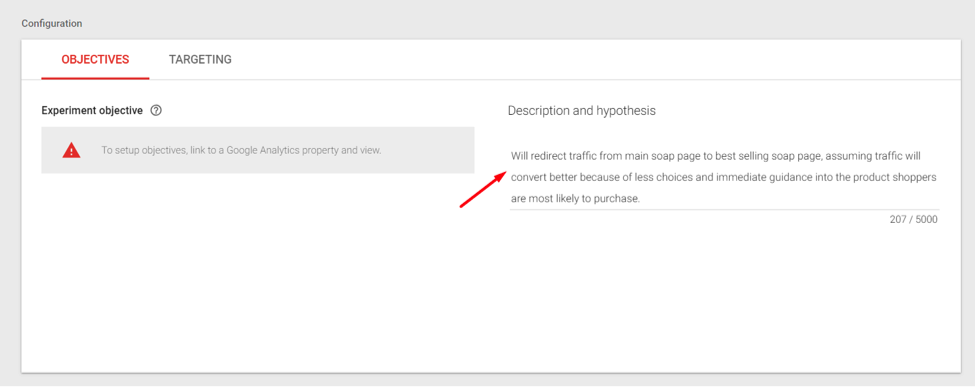
Enter the description and hypothesis under the “Configuration” section of the experiment and click “Save.”
—
Note that there is an alert in the above example because a Google Analytics property and view needs to be linked to the experiment to define objectives. Set this up by clicking on “Go to container page” on the right-hand side.
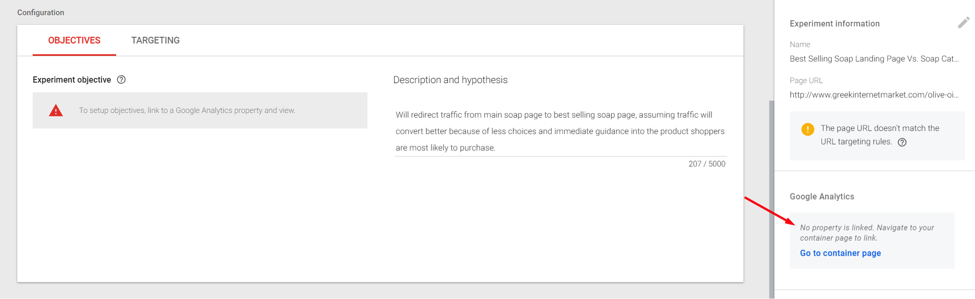
Link to Google Analytics by clicking on “Go to container page” on the right-hand side.
—
Then click on “Link Property” on the next page. Select the Google Analytics property and view. Then click “Link.”
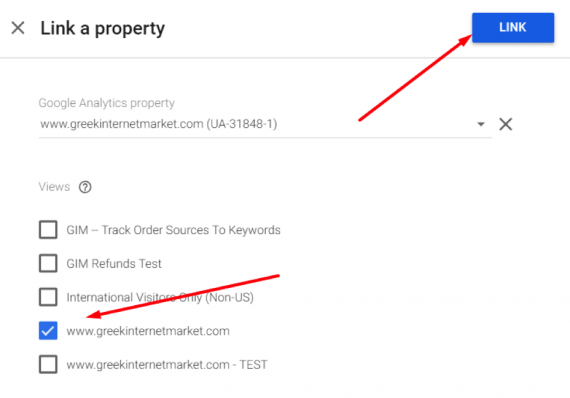
Select the Google Analytics property and view. Then click “Link.”
—
A modal will appear to add the Google Optimize code to your website. Click “Get snippet.” Then follow the instructions to modify your existing Google Analytics code.
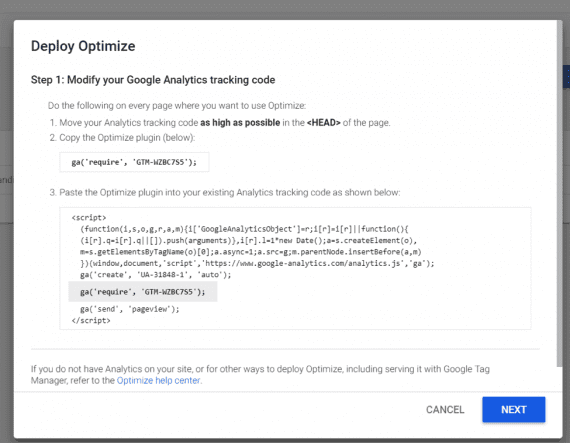
Click “Get snippet” to add the Google Optimize code to your website. Then follow the instructions to modify your existing Google Analytics code.
—
After clicking “Next,” the flickering code will be available to add as well. (“Flickering” is when the original page appears briefly before the variation.)
Once the code has been updated on your website, you may need to go to the main experiment page and click “Link to a Google Analytics View” at the bottom left. Select the view from the bottom right of the page and click “Done.”
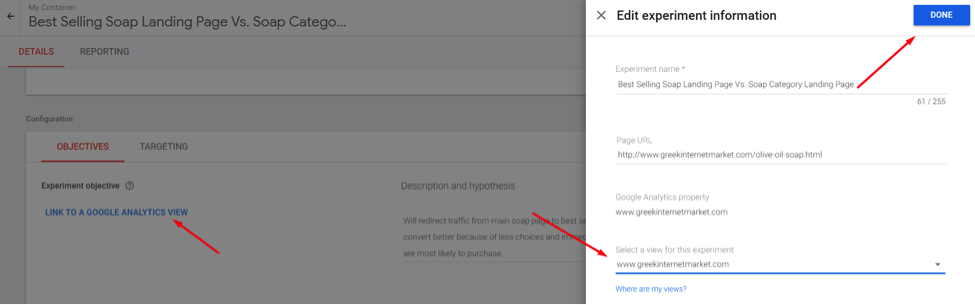
You may need to go to the main experiment page and click “Link to a Google Analytics View” at the bottom left. Select the View on the bottom-right of the page and click “Done.”
Next, at the bottom-right of the page, click “Add Experiment Objective.” Then click “Choose from list.”
If you have enabled ecommerce tracking in Google Analytics, there should be a “Transactions” objective to choose from. (See “Using Enhanced Ecommerce to Grow Revenue,” a previous article, to set up ecommerce in Google Analytics.)

If you have enabled ecommerce tracking in Google Analytics, choose the “Transactions” objective.
—
Save one more time and click “Start Experiment” if there are no additional items to address.
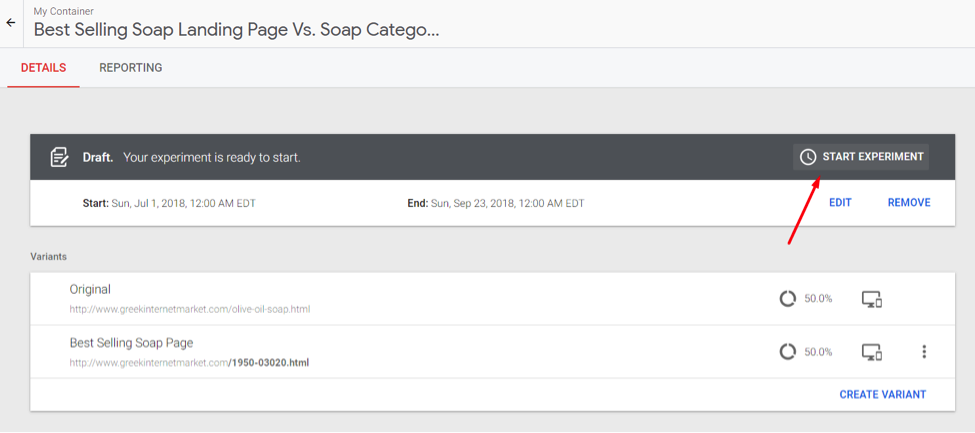
Click “Start Experiment” if there are no additional items to address.
—
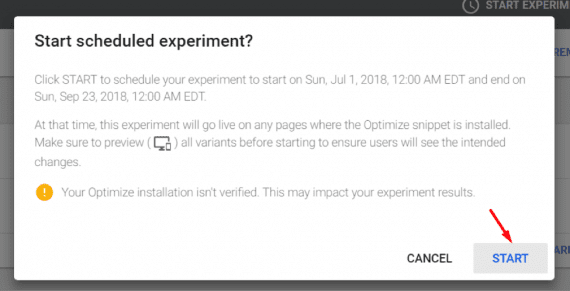
On the next page, click “Start” to launch the test. You may need to run a diagnostic if an alert, such as the one shown below, is displayed. This will confirm the Optimize installation code was added to the website correctly.
Reporting Results
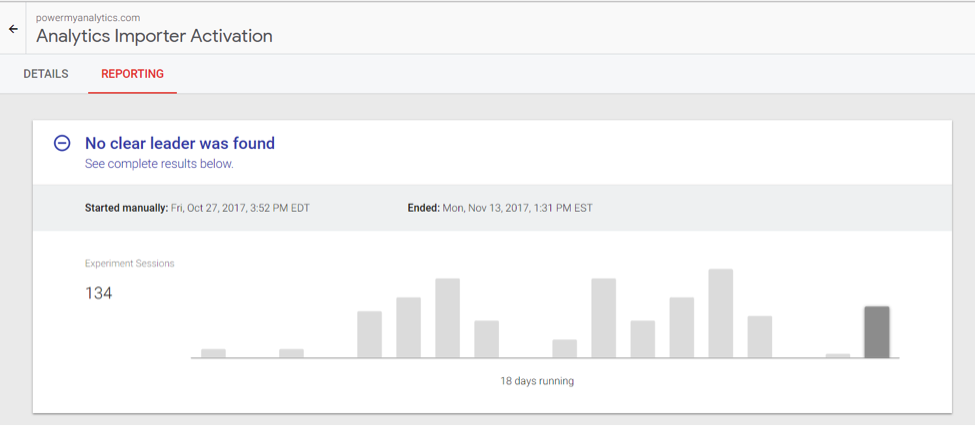
The “Reporting” tab provides results of the experiment, including identifying a clear leader.

The “Reporting” tab provides results of the experiment, including identifying a clear leader.
—
If Optimize identifies no clear leader, it will insert “No clear leader was found.”
If Optimize identifies no clear leader, it will insert “No clear leader was found.”
For more details on interpreting the results, see the Google Optimize help page.
Consistent A/B Testing
A/B testing enables continuous improvement. A dedicated A/B tool such as Google Optimize makes testing more structured and the results more accurate.
- Keep tests simple at first. Do not try a multivariate experiment early on.
- Ensure the test will generate enough traffic for meaningful results. Do not test a page variation if that page gets less than 100 sessions per week. A/B testing requires minimal samples — “sessions” in Google Analytics — for statistical significance.
- Test big changes, not subtle tweaks. Small changes may not yield statistical results because the conversion rate differences may be small. Niche online retailers generally do not receive a lot of traffic. Thus the statistics generally do not support minor changes in conversion rates over a maximum 90 day testing period.
- Make A/B testing an ongoing process. There are always opportunities to improve conversion rates. Observe new ideas in mobile design or new ideas with product and checkout pages. Then A/B test those ideas on your site before rolling them out.