If your business designs and sells t-shirts or other imprinted items, you may need to generate color separations so that contract manufacturers can easily produce your products.
Online t-shirt shops abound. Ecommerce platform providers, such as Shopify and BigCommerce, promote t-shirt entrepreneurship. Contract printing services like Printful, Print Aura, and Merchify make it easy for a small business to start selling t-shirts and related products.
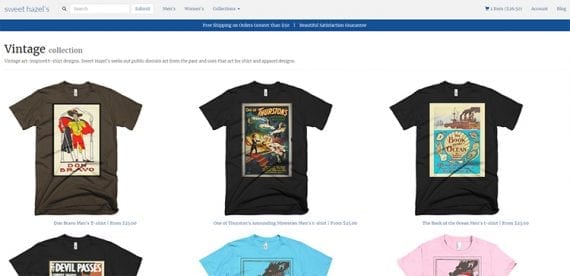
Online t-shirt shops are popular with ecommerce entrepreneurs because they are easy to start — thanks to printing fulfillment services.
As your online store grows, it can be a good idea to print some products more directly. For example, if your store uses an Anvil 980 lightweight shirt and a t-shirt fulfillment service prints and ships it, your cost will be about $15. If you sell the shirt for $20, you make about $5. When you consider you have no inventory investment, $5 is good.
Now, imagine you have 10 t-shirt designs. One of them is a top seller. You know you’ll sell about 50 a month. It may make sense to buy inventory ahead and go to a different printer. You’ll have to ship the product to customers yourself or via a third-party fulfillment service, but your printing cost could drop by has much as $5 per shirt. Instead of making $250 a month on this one design, you might make $500.
T-shirt fulfillment services can do a fair amount of graphics processing for you. You can send them a composite image and they will figure out a way to print it. But not every contract printer will do this and most certainly the service will not be free. These printers will likely want a color separation.
Fortunately, Adobe Illustrator makes it easy to generate color separations. What follows is an example workflow to create a color separation for your designs.
Step 1: Convert Text
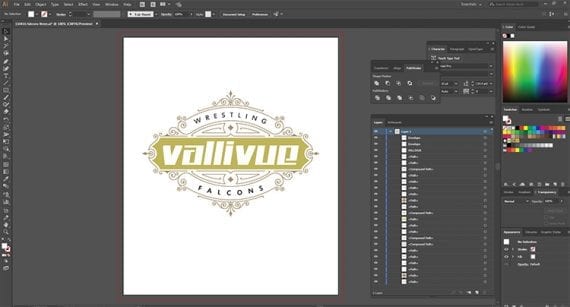
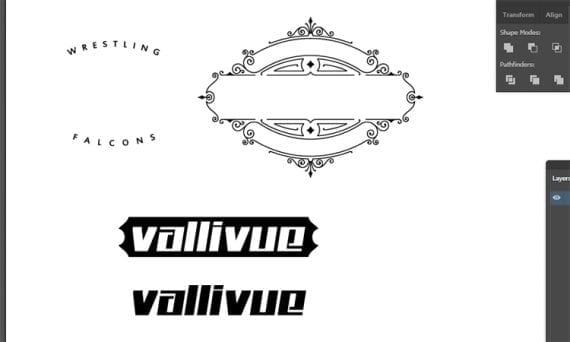
With your design open in Adobe Illustrator, covert the text to outlines.
You will need to convert the text in your design to outlines. To do this, select the text, alt click, and choose “Create Outlines” from the menu. If you have any envelope effects, like arched text, select these, open the Object menu, and choose Expand. When the dialogue opens, simply click “OK.”
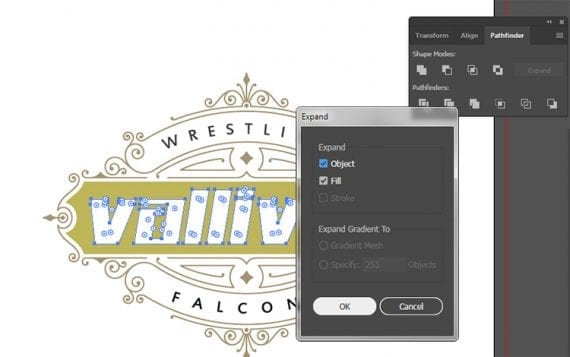
If you have effects like arching text, which may show up in the layer menu as an “envelope,” you will need to expand it.
You must repeat this step for all of the text or envelope layers in your design.
Step 2: Merge the Image
With Adobe Illustrator open, select your entire design using the selection tool or, as many designers refer to it, the black arrow tool. You can click and drag over the design to select it.
With your artwork selected, go to the Pathfinder palette and merge. If the Pathfinder is not visible, go to the Window menu and select it.
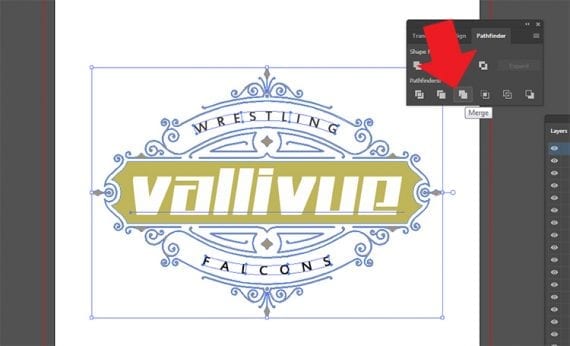
Using the Pathfinder merge the selection.
Step 3: Make Spot Color Swatches
Using the Magic Wand tool, select each color one by one in the design and create a color new color swatch.

With the Magic Wand tool select each color individually.
To do this, select a color with the Magic Wand tool.
Next, go to the Swatches palette and click the new swatch icon.
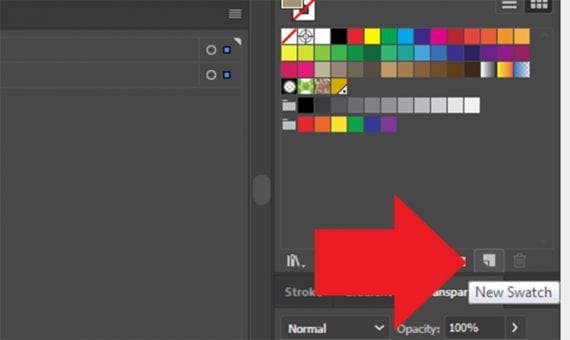
The new swatch icon is in the lower right of the swatch section.
When the dialogue opens, set the color type to Spot Color. Repeat this process for each color in your design.
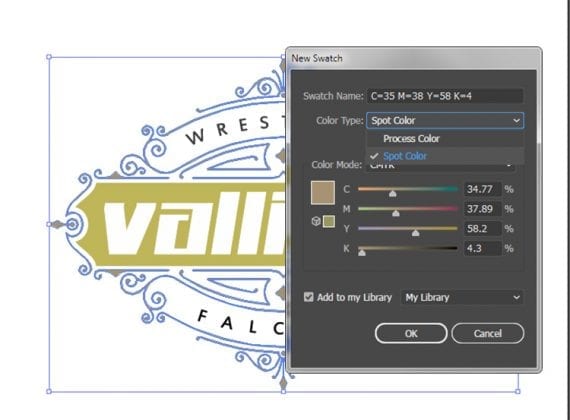
Make each color a spot color.
Step 4: Print the Color Separation
From Illustrator’s File menu, select “Print” to open the print dialogue box. Set the printer to Adobe PDF. On the left side of the dialogue, choose Output. Once the Output section is visible, set the Mode to Separations.

You will be working with the output in the print dialogue.
Your spot colors should be visible in the Document Ink Options section and there should be printer icons next to each spot color.
Finally, just click “Print.”
Illustrator will output an Adobe PDF. Each color will be isolated on a single page of the PDF. Also, the design is shown in black.
Each color will be represented on a page of the PDF.
Working with Separations
You now have a color-separated design. This method will work for most of the contract printers you may choose. Some contract printers will require printing marks. You can easily add these from the print dialogue. Before you choose Output, there is a Marks and Bleed option. One click and those are included.
A few, often small, contract t-shirt printers will want you to produce the separation as a single EPS or Adobe Illustrator file. That requires a somewhat different approach. There are many ways to create the EPS version, if you will, of the color separation without using the print solution described here. For relatively new Adobe Illustrator users, a couple of methods are fairly easy.
A small number of contract printers will want the color separation as an .eps or .ai file. This example was made by opening each of the pages of the color separation PDF described in this article, copying the black sections, and pasting them on a new artboard.
First, follow the steps above, then open each page of the color separation PDF in Illustrator, select the black image, copy it, and paste it to a new artboard. In pretty short order you will have a each color as a section on the new artboard, just save it.
Second, you can work with your composite image and manually select each color section.