In my previous article,”Google Optimize: No Excuse Not to Test,” I explained how to get started on that platform and prepare it for testing. In this article, I’ll create a real experiment, for hands-on learning.
Setting Up an Experiment
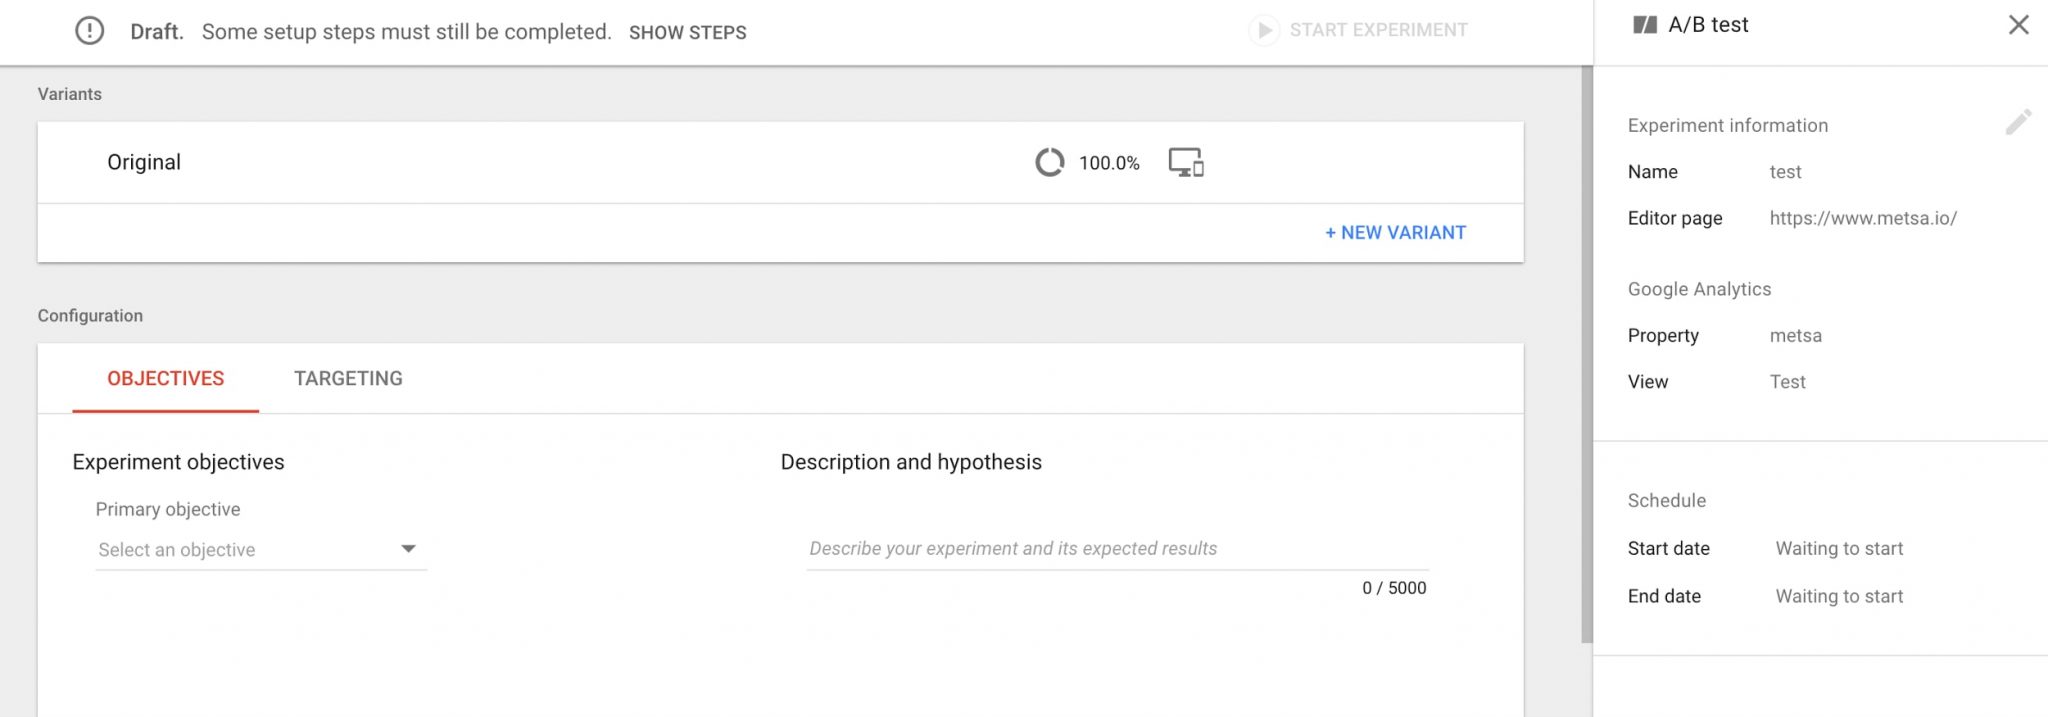
Create an experiment. To create an experiment, open the main screen of Google Optimize and see the big blue “Create Experiment” button in the upper right corner. Clicking it opens the dialog box that enables you to name your experiment, select the type of experiment, and define the URL of a page to experiment on.

Clicking the “Create Experiment” button leads to a screen to name your experiment, select the type of experiment, and define the URL of a page to experiment on. Click image to enlarge.
Create a variation. Setting up an A/B/n or any other test requires you to define variations. Variations can be created by either editing the control page using the internal editor or importing the code directly. Optimize will take it from there and show each page to a random visitor.
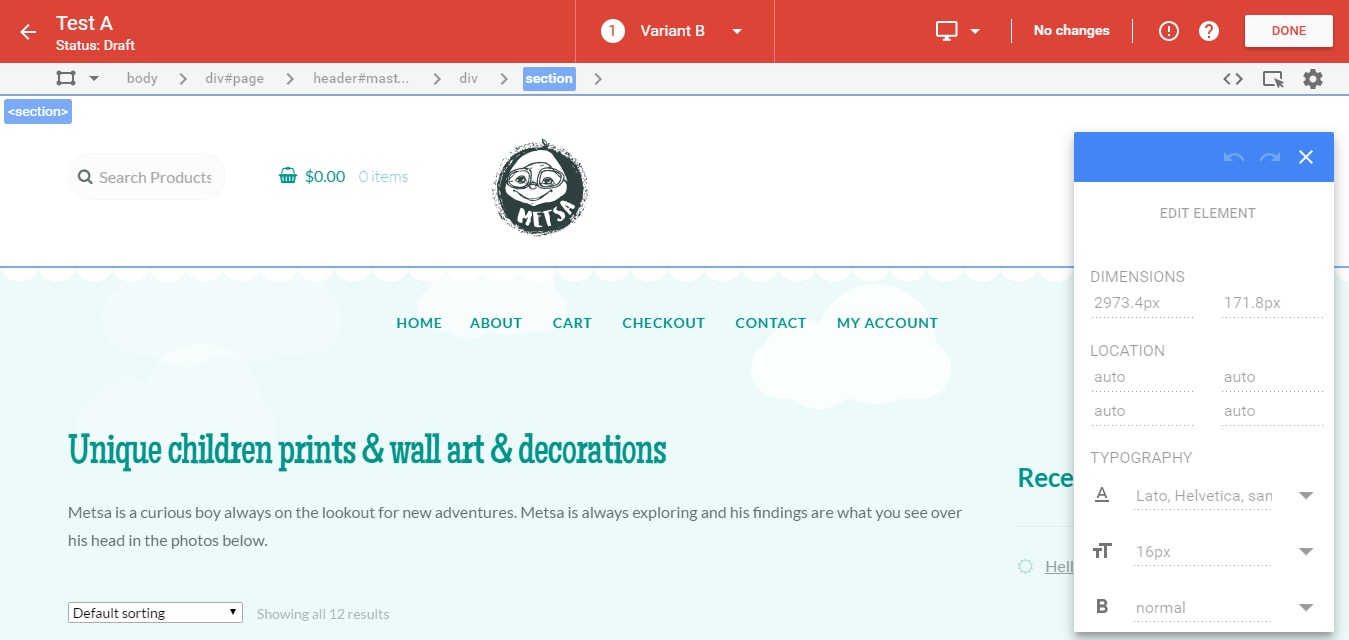
Using your website’s internal editor is helpful only if you are making small-scale changes to graphical layouts, such as moving elements or changing colors.

Internal editors are helpful for making minor changes quickly and easily.
Define objectives. To begin your experiment, select an objective. The type of objective depends on the type of improvement you want to achieve by implementing your experiment.
For most ecommerce websites, an appropriate objective might be the conversion event — the purchase. If you have a blog, you might use session duration or other engagement metric, such as scroll depth. If your website primarily serves to generate leads, you can use, say, completed contact forms as an objective. If your website has events and goals set (in Google Analytics), you can use these as your objectives.
You may want to use multiple objectives and track improvements not only in your macro conversion, but also see how the experiment impacts your micro conversion objectives. This option allows you to gauge the impact of variations on more than just your primary objective, so you can keep tabs on unintended consequences. You never know if a variation will have a ripple effect on your other goals.
In the free version of Google Optimize, you can only select objectives before you start the test. It is not possible in the free version to add objectives while the test runs. This limitation is lifted in the paid version, which allows you to add new, ad-hoc objectives dynamically.
Once you have selected the type of test, named it, created variations, and defined objectives, it is time to start the experiment.
To make an experiment live, hit the “Start the experiment” button.

To make an experiment live, hit the ‘Start the experiment’ button in the upper right.
Google Optimize will indicate when the experiment is ready to start and will list the steps to take before the experiment begins. If you hover over the draft area, a tooltip will tell you which steps have not yet been completed.
Start the experiment. Once you click the start button, your experiment will go live. To confirm that the experiment is functioning correctly, go to your web page using different devices and incognito browsing. If you see the variation, all is well. If not, go back and check if you forgot something.
Track results. The first reports will become available in a few hours. You can track them through the reporting interface of Optimize, or in Google Analytics at Behavior > Experiments.

Track the results in Optimize or in Google Analytics, shown above.
How long to run the test? Since this is Bayesian statistics, we don’t need to reach an explicit sample size, which would, in frequentist statistics that draw conclusions based on the number of tests, provide an indication of when to stop. So, when should you stop the test without any of the indicators you’ve been used to?
Run experiments for at least two business cycles — i.e., the time between a consumer becoming aware of your offer and the actual purchase of it — so that all of the customers who started the conversion process have the chance to complete it during the experiment run.
To avoid sample pollution — wherein the same person records multiple different test results — do not run the test for longer than four full weeks. There is an excellent article on Conversion XL blog about this.
Bayesian-based tools report the results of their experiments as the chance for the variation to beat the baseline. If you do not get a clear winner by that time, you can safely assume the test either failed or is inconclusive and go back to the drawing board.
Real-life Case Study
One of my clients sells unique children’s art. I used Google Optimize to see which variation of the client’s home page would produce more conversions.
In my research, I determined that the weakest point of the website was the layout and above-the-fold copy on the home page. It lacked copy that would induce prospects to buy. My research also pointed to a few more opportunities to raise conversions.

The weakest point of this website was the layout and above-the-fold copy on their home page.
After thorough research of the client’s website, my firm proposed the following.
- A rewrite of the client’s value proposition — the first few lines on the page.
- Adding a user rating system and comments section on product pages.
- Adding a link to the client’s Instagram account, for social proof. Instagram, incidentally, also generated most of the client’s traffic.
- Linking users’ Instagram images to corresponding product images, to show products in use, for additional social proof.
- Enlarging product images on the home page, and showing fewer of them.
- Adding more details below the images on the home page.
- Adding a first-time buyer discount, discounts for multiple items, and seasonal promotional discounts for themed prints.
- Promote the most popular products on the home page.
Editing the home page. To get the fastest results and prove the efficacy of a testing program, we first tested changes to the home page.
To edit the page, we used a Balsamiq mockup to translate our ideas to the client’s front-end developers. For large-scale changes, this tends to be a better way to do it, rather than using an internal editor. Once the front-end developers created our variations, we created experiments comparing each one to the status quo.
Results. To observe the results, we primarily used the Google Analytics interface, which I prefer because it reduces the temptation to tinker with the results or stop the experiment prematurely. We ran the experiment with more than 2,000 visitors over two weeks.
Once we determined a winning set of variations, we reduced the number of visitors being sent to the losing variations for the following week, to make sure our winner held firm.
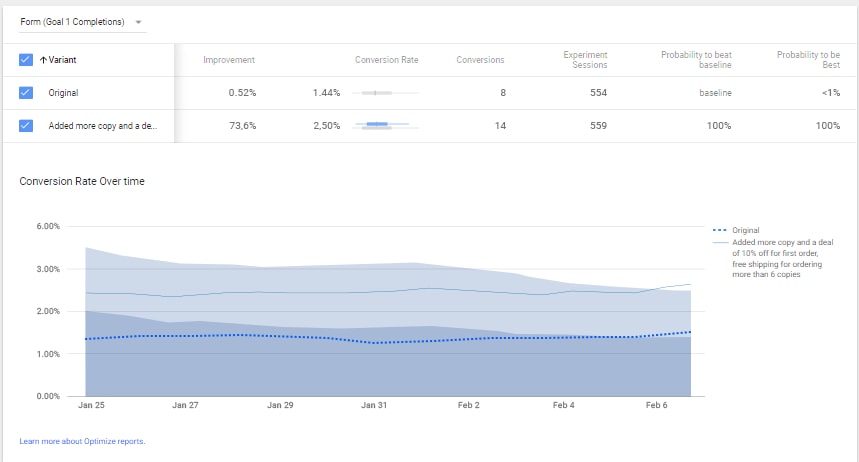
Our final results: Sales increased by more than 80 percent, jumping from 1.5 percent of visits to 2.4 percent.

Sales increased by more than 80 percent, jumping from 1.5 percent of visits to 2.4 percent.
Conclusion
After using Google Optimize, I came to a few conclusions.
- It is very accessible. If you use Google Analytics and Google Tag Manager, adding Google Optimize is easy. (I explained how to do this in my previous article.) The interface is familiar, the integration is seamless, and registration and implementation requires no technical expertise.
- As part of the Google pack of analytics tools (Google Analytics and Tag Manager), Optimize can handle most of your quantitative research.
- Optimize uses Bayesian statistics, making reporting and interpreting results a little easier for pro and non-pro users alike.
- The free version is good. It doesn’t cost you a dime to set up an experiment, or a few experiments, and run it for as long as you need to.
- Google Optimize is far from perfect. It does not feature a bandit testing algorithm — where the goal is to find the best or most profitable action — and the free version does not allow for full factorial multivariate testing or setting up objectives while a test runs.
- Google Optimize allows you to set up a functional testing program, to improve conversion goals on your website. That might make it easier to justify purchasing a more capable tool.
In short, Google Optimize is a sturdy stepping stone to get familiar with testing. Due to the familiarity of the interface and seamless integration with other Google tools, Optimize makes testing accessible to those who aren’t yet able to buy more advanced A/B testing tools, or don’t know how to use them.
Most importantly, perhaps, Optimize enables companies to start establishing a testing culture and realizing some serious conversion improvements, for free.


