Google’s new social network, Google+, is experiencing phenomenal growth. In just seven months since its inception, the network has more than 60 million users, according to published reports. It took Facebook four years to reach that amount. At first, Google+ was available only for individuals. But in November it opened its doors to businesses — as described in this Google blog post.
Compared to Facebook Pages, customization options on Google+ Business Pages are extremely limited. However, one area where merchants can add a touch of flair is with Scrapbook, the row of five images located across the top of the page.
This article, the first of a two-part series, discusses how to set up your Scrapbook. Part two will provide some examples from top brands on creative ways to use it.
Set Up Your Scrapbook
Assuming you are logged in to Google+, follow these steps to set up, add or edit images in Scrapbook.
Step one. From the row of four buttons located at the top of the page — look for them in the gray area to the right of the Google+ logo — select the one for Profile. This is the page that lists your posts. Think of it as the Google+ version of a Facebook Wall.
Click the Profile button to access Scrapbook photos.![]()
Step two. Click the blue “Edit Profile” button located in the upper right-hand corner of the page. This places your Profile page in edit mode.
Click the blue Edit Profile button to start the editing process.
Step three. Click on the row of images at the top of the screen to edit them. If no images have been uploaded, it will appear as a blank section that says, “Add some photos here.”
Click on the row of photos to edit them.
Step four. Add photos to the row in one of the following two ways.
If no images exist, click the “Add photos” reference (the background will turn gray once you mouseover the area), which will open a box like the one in the screenshot below.
The "Add Photo" dialogue box allows the addition of up to five photos.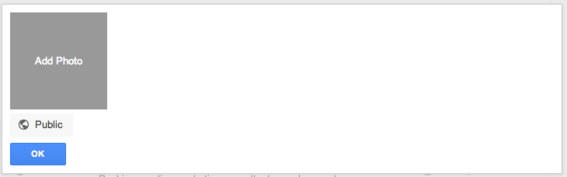
Click the “Add Photo” button and a window will appear that enables you to either drag a photo from your desktop or upload from your computer. You can add as many as five photos.
Add photos by dragging them into the box or by uploading from your computer.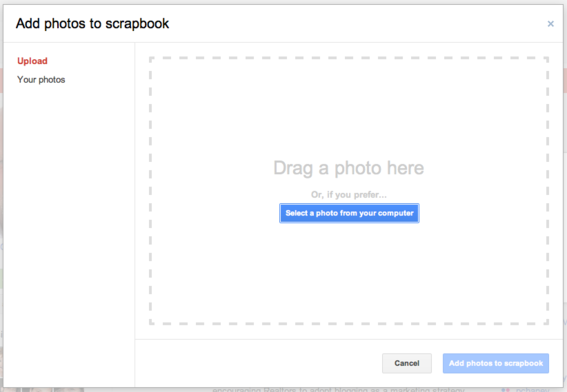
If you already have photos appearing in Scrapbook, but wish to add, delete or edit them, click the “Manage photos” link located just below the last photo in the row. You can also add images to your Scrapbook photo album by dragging them directly onto the photo row. Similarly, you can delete an image by mousing over it and clicking the phrase “Delete Photo.”
Click "Manage photos" to add, edit or delete them.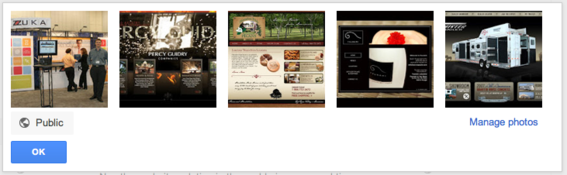
Clicking the “Manage photos” link will open your Scrapbook photo album.
The Scrapbook photo album.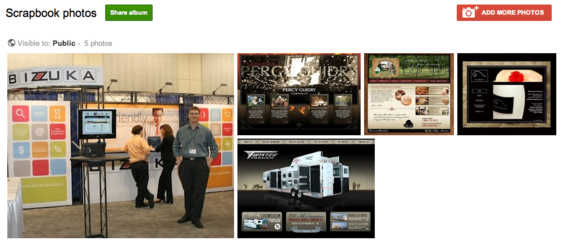
To add images to the album, click the red “Add More Photos” button located in the upper right-hand corner of the page.
Click the red button to add more photos.![]()
To edit existing images, select an image and click on it. This will open the image in lightbox format.
The lightbox allows you to edit your uploaded photos.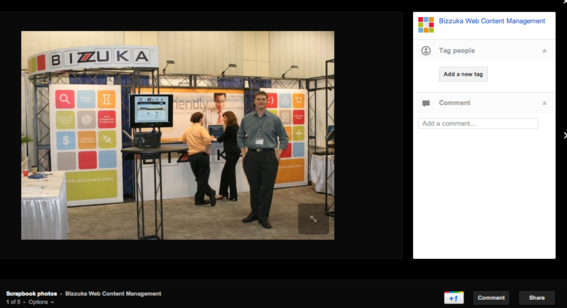
Notice that the lightbox contains a dialogue box located to the right of the image where you can add a description, tag people in the photo — if applicable — and add a comment.
Use this dialogue box to add descriptions, tags and comments.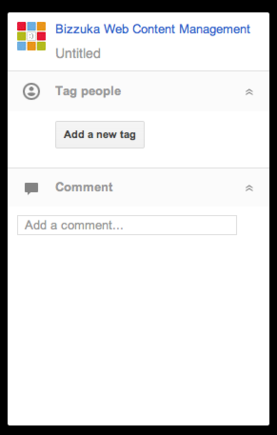
At the top of the light box is a button that says “Creative Kit.” This opens an interface that allows you to perform basic editing functions, such as crop or rotate images, as well as more creative ones like adding special effects, decorations or text.
Creative Kit provides image editing options such as crop and rotate.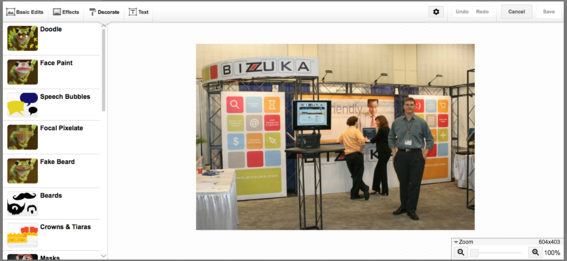
If you are familiar with the photo editing tool Picnik, this will look very familiar. Google recently acquired the company and uses its functionality for editing images.
Conclusion
Though Google+ offers few customization options, using images is a way to add some life to your business page and showcase your products and services. Part two of the series will provide some examples of creative ways companies are using the feature.